ENGLISH
4
ENGLISH
5
•TheON/OFFswitchshouldbeintheOFFposition
before connection to a power source or load,
when the unit is charging and when not in use.
•Neverallowtheredandblackclampstotouch
each other or another common metal conductor.
This could cause damage to the appliance and/or
createasparking/explosionhazard.Alwaysstore
the battery clamps in the built-in holders when not
in use.
•Whenusingthisunitinproximitytothevehicle’s
battery and engine, place the unit on a flat, stable
surface, and be sure to keep all clamps, cords,
clothing and body parts away from moving parts
of the vehicle.
•Thisappliancecontainsasealedlead-acidbattery.
It is recommended that the appliance is laid flat
during storage, use, and recharging.
Warning!Explosivegasmaybeventedfrom
the lead acid batteries when charging and under
extremeconditionsbatteryleakagemayoccur.
Ensure the area is well ventilated when conducting
jump starting and charging procedures.
•Toreducetheriskofelectricshock,disconnect
the appliance from any power source before
attempting maintenance or cleaning. Turning off
controls without disconnecting the appliance will
not reduce this risk.
•Makesuretheapplianceisdisconnectedfrom
all charging power sources before beginning the
jump start procedure.
Additional safety instructions for
batteries and chargers
BATTERIES
•Neverattempttoopenforanyreason.
•Donotexposethebatterytowater.
•Donotstoreinlocationswherethetemperature
mayexceed40°C.
•Chargeonlyatambienttemperaturesbetween
4°Cand40°C.
•Chargeonlyusingthechargersprovidedwiththe
appliance.
•Whendisposingofbatteries,followtheinstructions
given in the section “Protecting the environment”.
•Underextremeconditions,batteryleakagemay
occur. When you notice liquid on the batteries,
carefully wipe the liquid off using a cloth. Avoid
skin contact.
•Incaseofskinoreyecontact,followthe
instructions below.
Warning! The battery fluid is a diluted sulphuric
acid and may cause personal injury or damage to
property. In case of skin contact, immediately rinse
with water. If redness, pain or irritation occurs seek
medical attention. In case of eye contact, rinse
immediately with clean water and seek immediate
medical attention.
CHARGERS
Your charger has been designed for a specific
voltage. Always check that the mains voltage
corresponds to the voltage on the rating plate.
Warning! Neverattempttoreplacethechargerunit
with a regular mains plug.
Use your Black & Decker charger only to charge
the battery in the tool with which it was supplied.
Otherbatteriescouldburst,causingpersonalinjury
and damage.
•Neverattempttochargenon-rechargeable
batteries.
•Havedefectivecordsreplacedimmediately.
•Donotexposethechargertowater.
•Donotopenthecharger.
•Donotprobethecharger.
The battery must be placed in a well ventilated area
when charging.
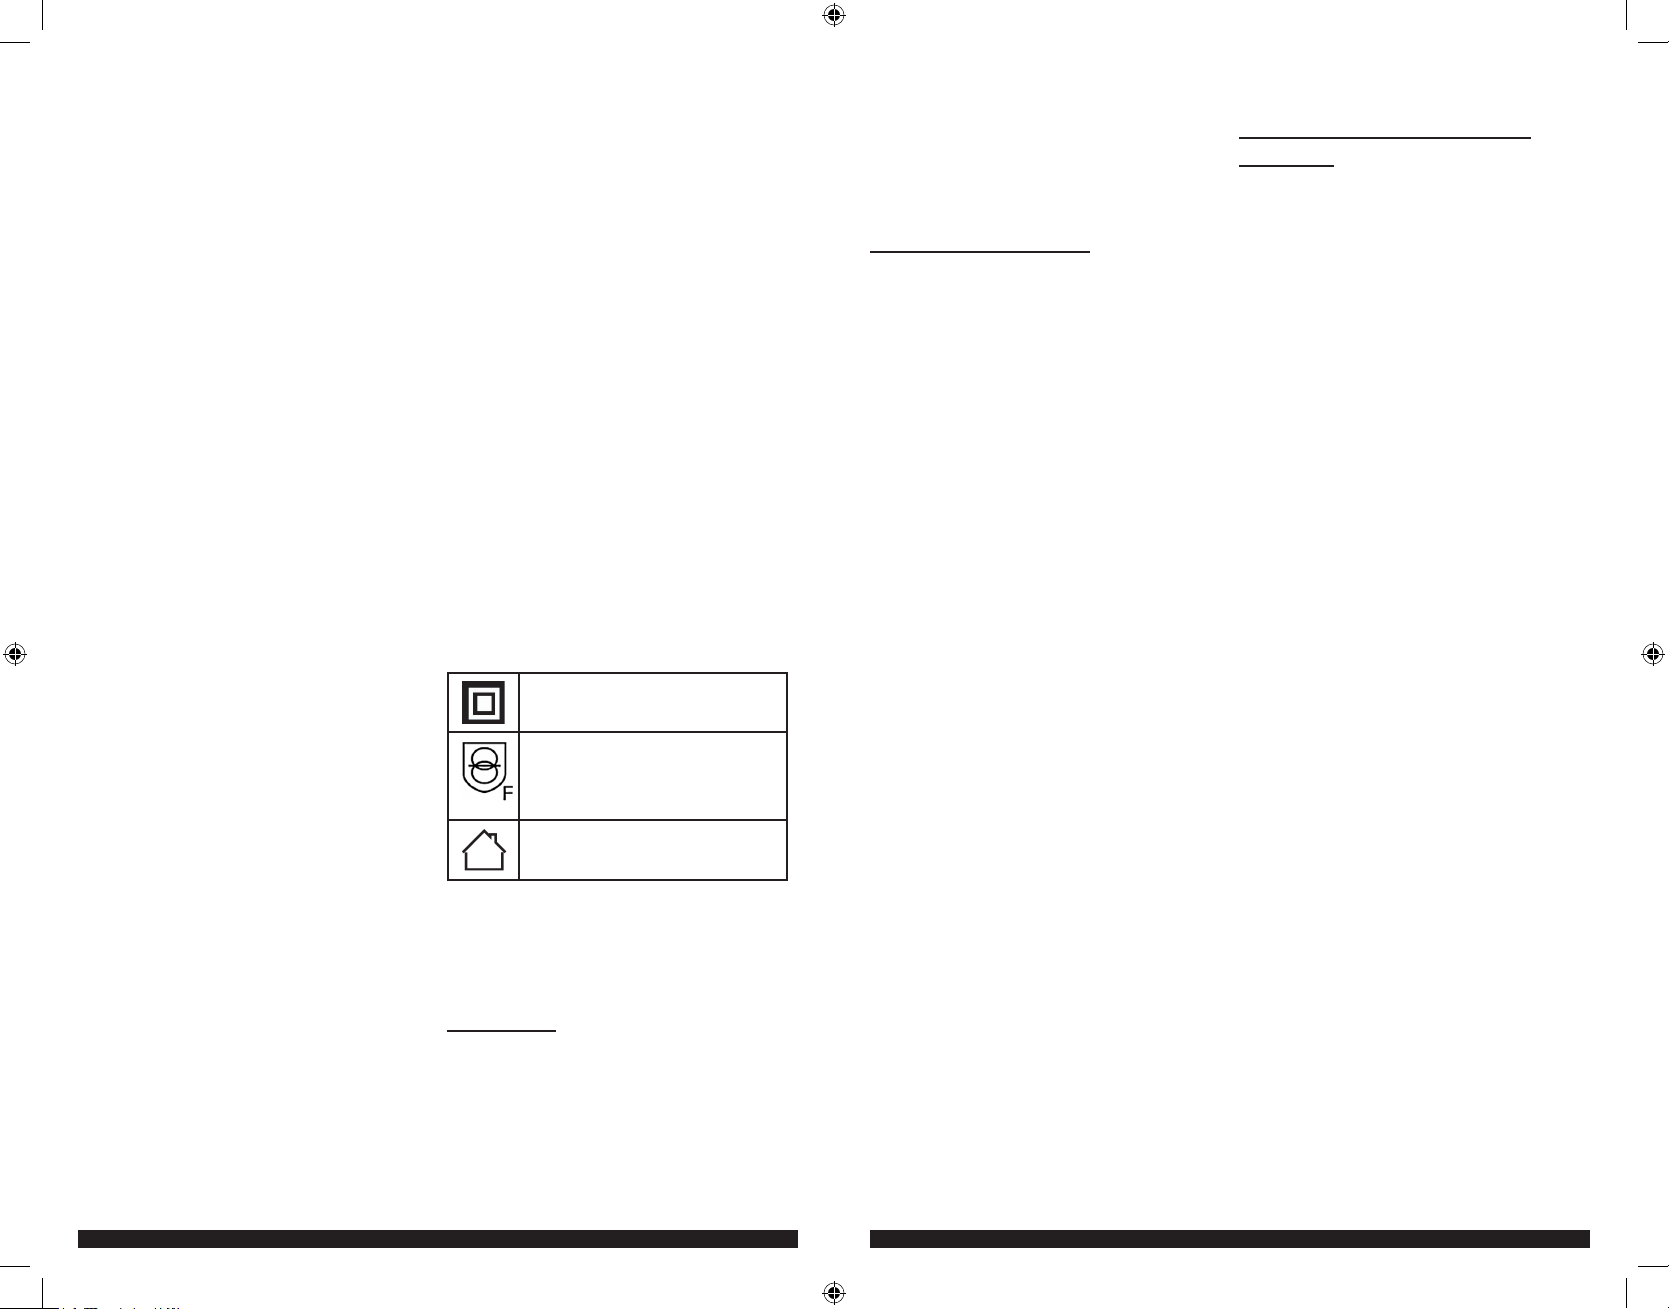
This unit is double insulated;
therefore no earth wire is required.
Fail-safeisolatingtransformer.The
mains supply is electrically separated
from the transformer output.
The charger is intended for indoor
use only.
Electrical safety
Always check that the power supply corresponds to
the voltage on the rating plate.
•Ifthesupplycordisdamaged,itmustbereplaced
bythemanufacturerinordertoavoidahazard.
FEATURES
This appliance includes some or all of the following
features:
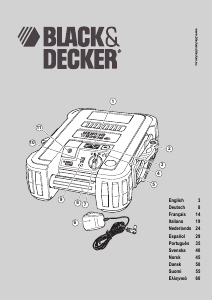
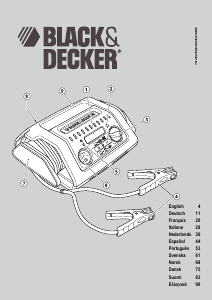
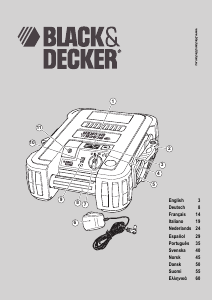
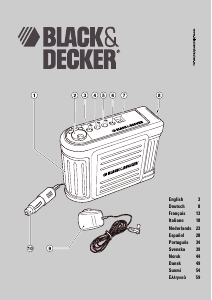
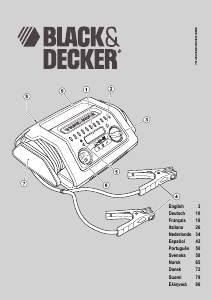
1. LED area light
2. Heavy-dutyclamps
3. LED area light on/off switch
4. Reversepolarityindicator
5. Jumper cables
6. Mainschargingadapter
7. On/offswitch
8. Carry handle
9. Battery status pushbutton
10. Battery status LEDs
11. 12Vdcchargingsocket
CHARGING THE UNIT
This unit is shipped in a partially charged state.
•Chargetheunitbeforefirstuseusingthemains
charging adapter for 48 hours.
Lead-acid batteries require routine maintenance
to ensure a full charge and a long battery life. All
batteries lose energy from self-discharge over time
and more rapidly at higher temperatures. When the
unit is not in use, Black & Decker recommend that
the battery is charged at least every 30 days.
•Checkthebatterychargelevelbypressingthe
battery status pushbutton. The LED charge status
display will indicate the level of battery charge.
When only one red LED lights, charge the unit.
•Makesurethattheon/offswitchandtheLEDarea
light are turned off while the unit is being charged.
Note:
Charging the battery after each use will prolong the
battery life; frequent heavy discharges between charges
and/or overcharging will reduce battery life.
Important! When the battery is overly discharged
and if the green LED is lit when the charger is
plugged in, this indicates the battery is at a high
impedance stage. In this event, recharge the unit
and leave the unit charging for a period of 24-48
hours before use.
Charging the unit using the mains
charging adapter
• Insert the jack of the appropriate mains charging
adapter(eithertheEUmodelortheGBmodel)
intothe12Vac/dcchargingsocketonthefrontof
the unit.
• Insert the appropriate mains charging adapter plug
into a mains power socket.
• As charging progresses, the red LEDs will light
one by one.
•ChargetheunituntilthegreenFULLLEDlightsor
flashes.
• Continue to charge for one to two more hours.
Note:
The mains charging should not be connected for more
than 60 hours.
When charging is complete, disconnect the mains
charging adapter and store it in a safe place.
USING THE UNIT AS A JUMP-
STARTER
Warning!Makesurethatthevehicleisinneutral
with the parking brake applied.
Note:
If your connections are incorrectly made, the unit will
beep continuously and the red reverse polarity indicator
willilluminate,eveniftheON/OFFswitchisintheOFF
position.Rectifytheconnectionsimmediately.
Warning! Makesurethatthecablesarenotinthe
path of moving belts or the fan.
1. Turn off the vehicles ignition and all
accessories before making any connections.
2.Makesurethattheunit’son/offswitchis
turned off.
3. The following procedure is for a negative earth
system ie the negative battery terminal is
connected to the chassis.
4. Connect the positive (+) red clamp to the
vehicle’s positive battery terminal.
5. Connect the negative (-) black clamp to
chassis or a solid, non-moving, metal vehicle
componentorchassispart.Neverclamp
directly to negative battery terminal or moving
part.Refertotheautomobileowner’smanual.
6. Turn the unit’s on/off switch to the on position.
7. Start the vehicle and crank the engine in 3 to
6 second bursts.
Important! If the engine doesn’t start within 6
seconds let the units internal battery cool for 3
minutes before making another attempt.
8. When the vehicle starts, turn the unit’s off/on
switch to the off position.
9. Leave the vehicle’s engine running.
10. Disconnect the (-) black lamp connected to
the engine or chassis first, followed by the (+)
red clamp that is connected to the battery
positive (+) terminal.
11. Carefully press the negative (black) jumper
cable wire into the storage channel starting at
the end furthest from the clamp.
12. Clamp the negative (black) clamp onto the
clamp holder.
13. Carefully press the positive (red) jumper cable
wire into the storage channel starting at the
end furthest from the clamp.
14. Clamp the positive (red) clamp onto the clamp
holder.
15. Charge the unit as soon as possible.
BDJS350_450_Manual_041012.indd 4-5 4/10/2012 5:20:32 PM


Λάβετε μέρος στη συζήτηση σχετικά με αυτό το προϊόν
Εδώ μπορείτε να μοιραστείτε τη γνώμη σας για το Black and Decker JUS450B Μίζα εκκίνησης. Εάν έχετε κάποια ερώτηση, διαβάστε πρώτα προσεκτικά το εγχειρίδιο. Το να ζητήσετε ένα εγχειρίδιο μπορεί να γίνει χρησιμοποιώντας τη φόρμα επικοινωνίας μας.