
3
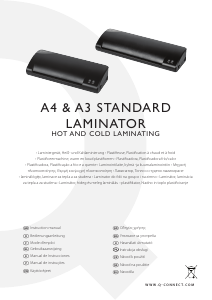
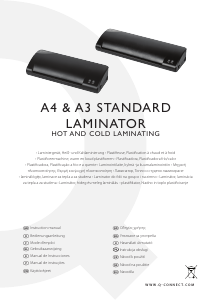
1 Power Switch
2 LED for Power
3 LED for Ready
4 In-feed slot
5 Pouch outlet
6 Anti Jam Lever
FOR OpTIMAL ReSuLT we ReCOMMeND uSING
Q-CONNeCT LAMINATING pOuCHeS.
COLD LAMINATING
1. Connect the power cable to an easily accessible, standard
and correct electrical socket. Switch on the power switch to
COLD position on the right side of the laminator. The two LEDs
for both POWER and READY will light on and the drive motor
starts up. It is ready for cold lamination.
Attention: If you have just nished using the laminator for
hot laminating, you must let the laminator cool down for
minimum 30 minutes.
2. Insert the document in the laminating pouch, leave a margin
of approx. 3-5 mm to the edge of the laminating pouch on all
sides.
3. Insert the laminating pouch containing the document in the
laminator’s in-feed slot. Always insert the ready closed side of
the laminating pouch in rst. The laminating process occurs
automatically.
4. When the laminating tasks had been nished, switch o the
power switch of the laminator, and disconnect the power plug
HOT LAMINATING
1. Connect the power cable to correct electrical socket, switch
on the power switch to HOT position, the LED for POWER will
light on and the machine is in warm-up phase which takes
about 5 to 6 minutes. The LED for READY lights up when the
correct temperature is reached. Then, the device is ready for
use.
Attention: The machine is for laminating pouch thickness from
2x75 to 2x125micron. When the machine is just ready for use,
it is suitable for laminating laminating pouches of 2x75micron,
but the hot rollers’ temperature maybe not high enough for
laminating 2x125micron pouches immediately, so you have to
wait 3-5 minutes more in order to get a better lamination.
2. Insert the laminating pouch containing the document in
the laminator’s in-feed slot, it will come out from the out-let
automatically, lamination nished.
Attention: Always insert the already closed side of the
laminating pouch in rst.
Attention: Pull out the Laminating Pouch pouch immediately
after it comes out of the out-let and stops moving to avoid
overheat (smudging and blistering).
3. If the foil jams, use one hand pressing the laminator and
sliding the Jam Release Lever, meantime, use the other hand
to pull back the laminating pouch from the laminator’s in-feed
slot.
4. When the laminating tasks had been nished, switch o the
power switch and disconnect the power plug.
IMpORTANT SAFeTy INFORMATION
The laminator can only be operated horizontally on a level •
surface indoors in dry rooms with good ventilation.
The socket-outlet shall be installed near the equipment and •
shall be easily accessible.
Children or pets must be kept away from the laminator during •
operation.
Never touch the top of the device. Risk of burns! •
Never cover the top of the device with anything. Risk of re!•
Switch o the laminator and disconnect the power plug when •
it is not being used.
TROubLeSHOOTING
Laminated pouch is not completely transparent and/or the edge
is not well sealed.
Wait for a few minutes to get a higher temperature. •
Laminate the same pouch again to improve the lamination •
result.
Use the correct laminating pouches.•
DISpOSAL
This symbol (crossed out waste bin) indicates that
the product must be returned to an authorised
recycling centre or collection point when it has
reached the end of its service life. This symbol only
applies in member states of the EEA1.
t



Λάβετε μέρος στη συζήτηση σχετικά με αυτό το προϊόν
Εδώ μπορείτε να μοιραστείτε τη γνώμη σας για το Q-CONNECT KF17003 Ελασματοποιητής. Εάν έχετε κάποια ερώτηση, διαβάστε πρώτα προσεκτικά το εγχειρίδιο. Το να ζητήσετε ένα εγχειρίδιο μπορεί να γίνει χρησιμοποιώντας τη φόρμα επικοινωνίας μας.